
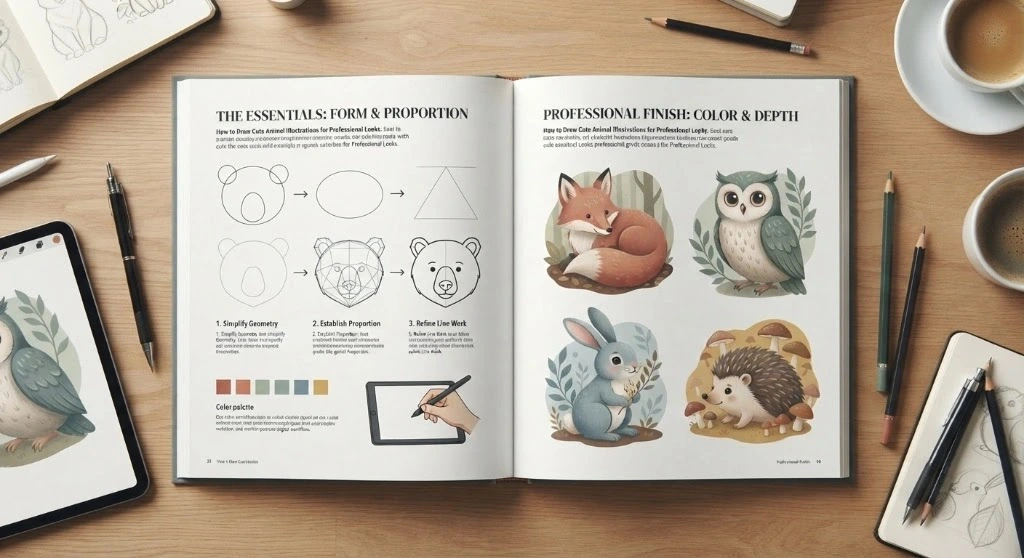
How to Draw Cute Animal Illustrations for Professional Looks
Table of Contents
Cute animal illustrations may look simple, but creating one that feels polished and professional takes more thought than adding oversized eyes and rounded shapes. A strong illustration needs clear proportions, a readable silhouette, appealing expressions and enough detail to give the character personality without making the design feel crowded.
So if you are drawing for a children’s book, a greeting card, packaging, social media stationery or even a personal project, all it takes is a few basic principles!
Keep reading to discover those tips that can help you create artwork that looks intentional instead of overly cartoonish.
Step-by-Step Process to Create Animal Illustrations
Animal illustrations aren’t always the scary ones. You can also design them in an adorable way that offers warmth and softness to viewers. If you have the responsibility of creating them, here is how you can design them the right way with these few basic steps.
1. Start With a Simple Animal Reference
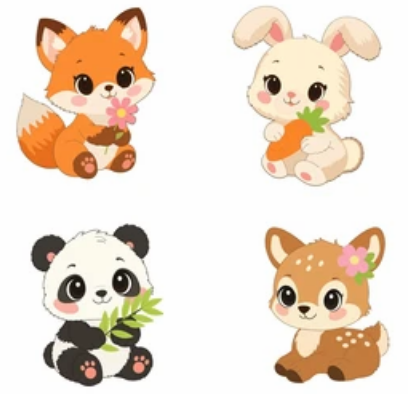
Choose the animal you want to illustrate and study a few real references before you start drawing.
- Look at photographs from different angles instead of relying on your memory.
- Pay attention to the animal’s head shape, body proportions, ears, paws, tail and distinctive features.
Remember that cute animal illustrations can be highly stylised, but they should still have enough of the animal’s natural characteristics to make it recognisable.
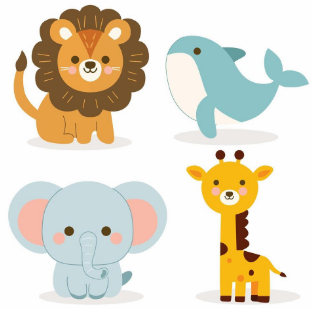
For example, a rabbit might have long ears and a compact body, while a fox can be identified through its pointed ears and bushy tail. These features give you something to exaggerate without losing the animal’s identity.
2. Build the Character From Basic Shapes
A very easy way is to start is by breaking the animal into simple forms.
- A circle or oval can form the head.
- Another larger shape can become the body.
- Smaller circles and curved shapes can indicate the paws and joints.
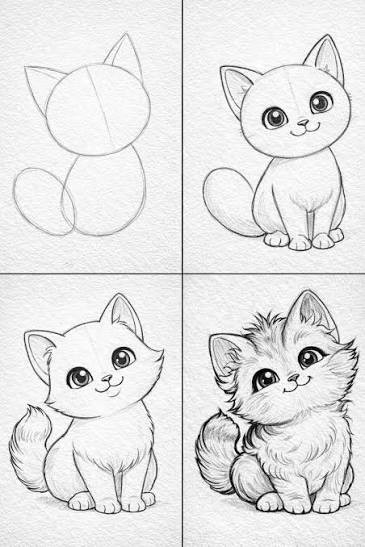
This approach helps you concentrate on proportions before worrying about details.
Try sketching several versions of the same character. Make the head slightly larger in one version, shorten the body in another and change the position of the ears or legs. You will find that a small change creates a much more appealing character.
3. Get the Proportions Right
Cute characters often have exaggerated proportions, but exaggeration works best when it is done on purpose.
- A larger head can make an animal appear younger or more approachable.
- Shorter limbs can create a softer appearance.
- A small body combined with a large head can make the character feel playful.
But you need to remember that every part should still feel connected.
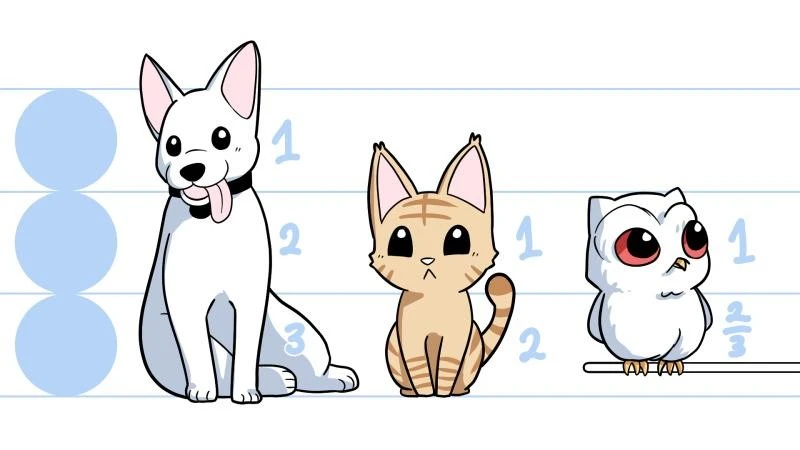
The character may look awkward rather than cute when the head is extremely large, but the neck, body and legs are drawn without adjusting their proportions. Use your initial sketch to test the overall balance before adding outlines or colour.
4. Pay Attention to the Silhouette
Your illustration should still look professional when it is viewed as a simple outline.
This is why the silhouette matters.
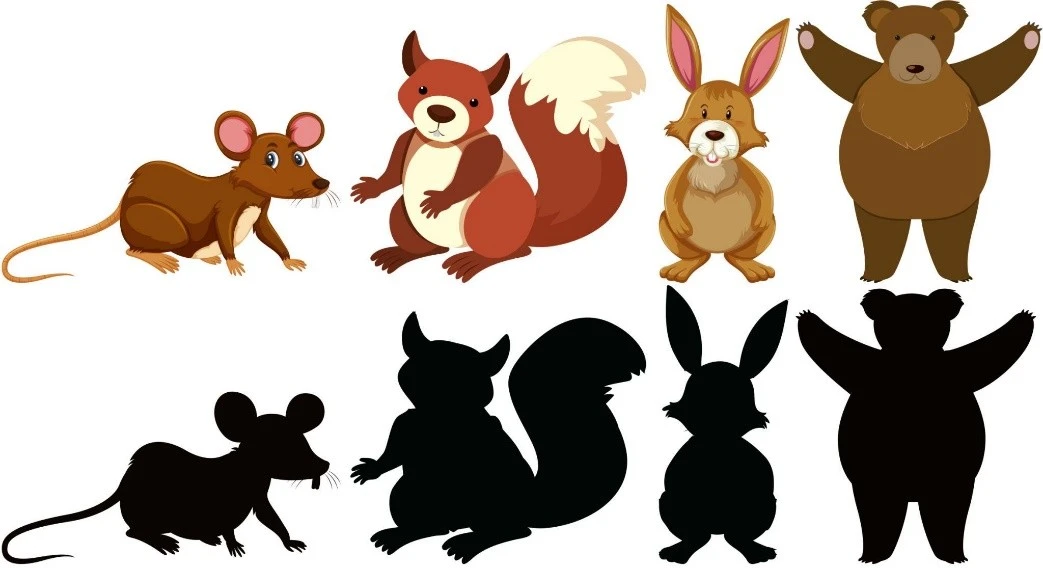
Try filling your sketch completely with a single dark tone and looking at it without any internal details.
- Can you still tell whether it is a cat, bear, fox or puppy?
- Can you recognise its pose?
Distinctive ears, tails, paws and body shapes can make a character much easier to identify.
Silhouette testing is must if your illustration will appear at a small size, such as on stickers, packaging, icons or social media graphics.
5. Give the Face a Clear Expression
The face is going to carry most of the character’s personality.
Small changes in the eyes, eyebrows, mouth or head position can completely change how an animal feels.
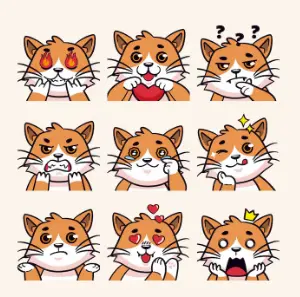
- Slightly curved eyes and a small smile may be enough if you want a cheerful character.
- A curious expression could involve one raised eyebrow and widened eyes.
Avoid adding too many facial details.
This approach, used by experienced kids illustrators, works because they communicate emotion with only a few carefully placed lines.
6. Use Line Weight to Create Depth
Try to experiment with line weight instead of using exactly the same thickness everywhere if you are working digitally or with ink.
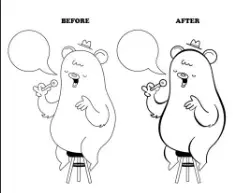
A slightly heavier outer contour can help separate the character from the background. Finer lines can be used for facial features and fur details.
You do not need dramatic variation every time, as even a subtle difference can make the illustration feel more refined.
If every line has the same visual weight, the artwork may appear flat or mechanical.
7. Keep the Details Under Control
The urge to add details can feel tempting when you are drawing fur and feathers. But the addition of extra details is not going to make your illustration look more professional.
Instead, you should decide which areas deserve attention.
For example:
- A bear might need only a few curved lines to show fur around the cheeks.
- Whereas a bird could use simple feather shapes instead of hundreds of individual marks.
Think about where you want the viewer to look first. Usually, the face and overall pose should receive more attention than the minor decorative details.
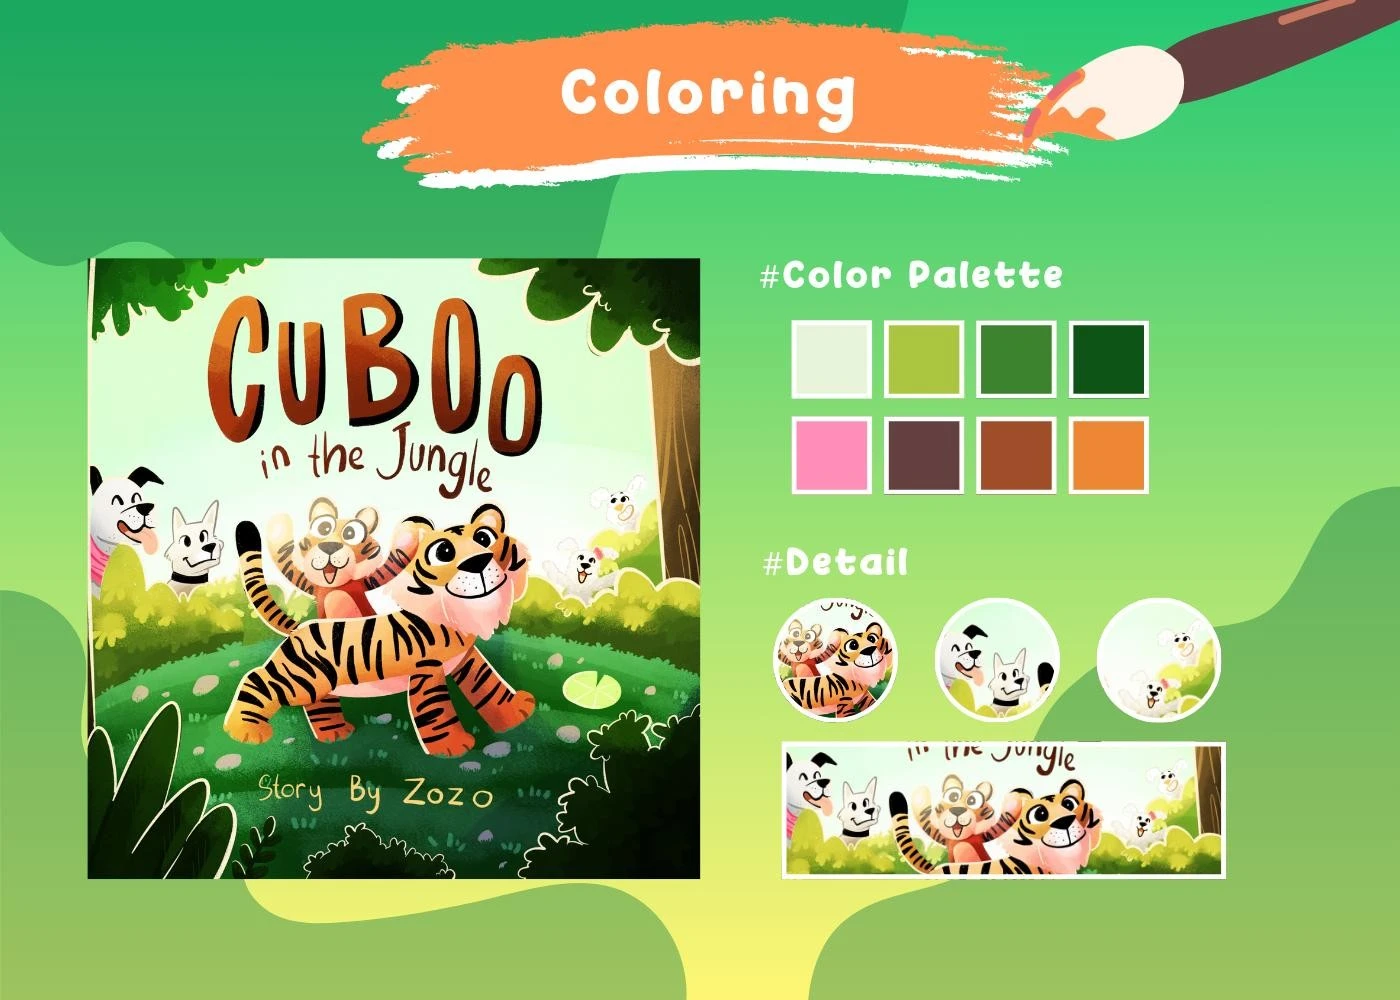
8. Choose a Simple Colour Palette
The colors added can completely change the mood of a cute animal illustration.
Start with two or three main colours and add one or two supporting shades. This keeps the artwork visually consistent.
For example:
- A woodland fox could use warm orange, cream and brown kind of shades.
- A playful penguin can depend on black, white, soft blue and a small amount of yellow.
You can also use a lighter or darker version of the main colour for simple shading. You don’t need a complicated gradient system unless the style specifically calls for it.
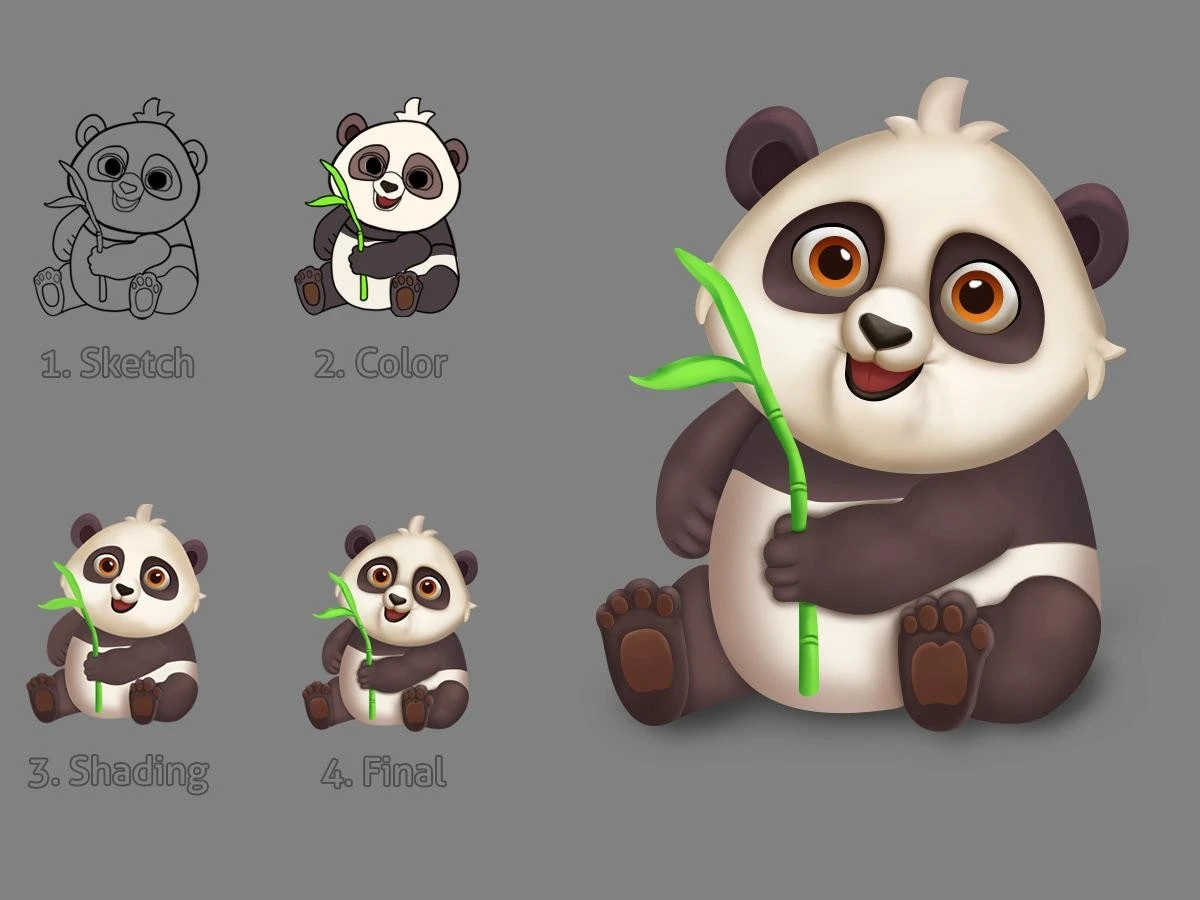
9. Add Soft, Purposeful Shading
Flat colour can work beautifully for cute illustrations, but a small amount of shading can give the character more dimension.
You can:
- Think about where the light is coming from and keep the direction consistent.
- Add a darker tone underneath the chin, around the body or behind overlapping shapes.
- Avoid shading every individual feature, as too much shading can make a simple character look visually heavy.
Also, soft shadows are often enough to separate the head from the body or make the paws stand out.
10. Make the Pose Feel Natural
Your cute character doesn’t need to stand still every time.
Try to add different poses that communicate personality, for example:
- A puppy could sit with its head tilted to one side.
- A cat could stretch, curl up or reach towards something.
- A squirrel might hold an acorn close to its chest.
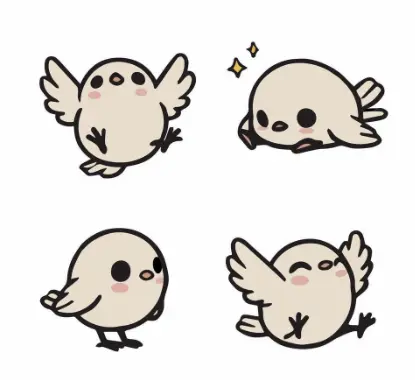
Use quick gesture sketches to explore movement before you refine the drawing. These rough sketches can be only a few lines, but they help prevent stiff poses.
A professional illustration often feels more lively because the pose has been considered before the details were added.
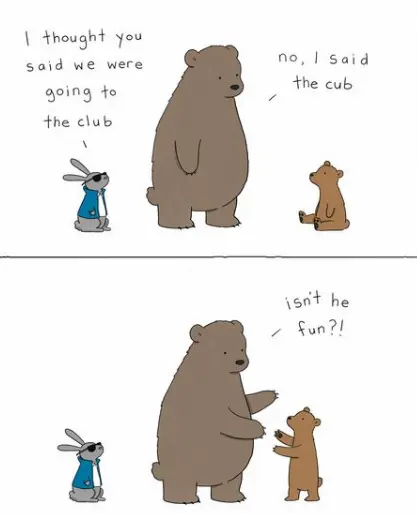
11. Create a Consistent Illustration Style
Consistency is extremely important if you are creating multiple comic book illustrations for the same project. This is why you should try to keep certain elements similar across the collection, such as:
- The line thickness
- Eye style
- Your chosen colour palette
- Shading method
- The proportions
- Level of detail
The animals do not need to look identical as a rabbit and bear should still have their own shapes and personalities. You just need to focus on making them feel as though they belong to the same visual world.
This is very important for children’s books, educational materials, product collections and branded illustrations.
12. Think About Where the Illustration Will Be Used
The final purpose is going to influence how you draw.
- An illustration for a large poster can contain more detail than a small website icon.
- A children’s book would be incomplete without from expressive poses and colourful backgrounds.
- A packaging may require a simpler design that remains clear at a distance.
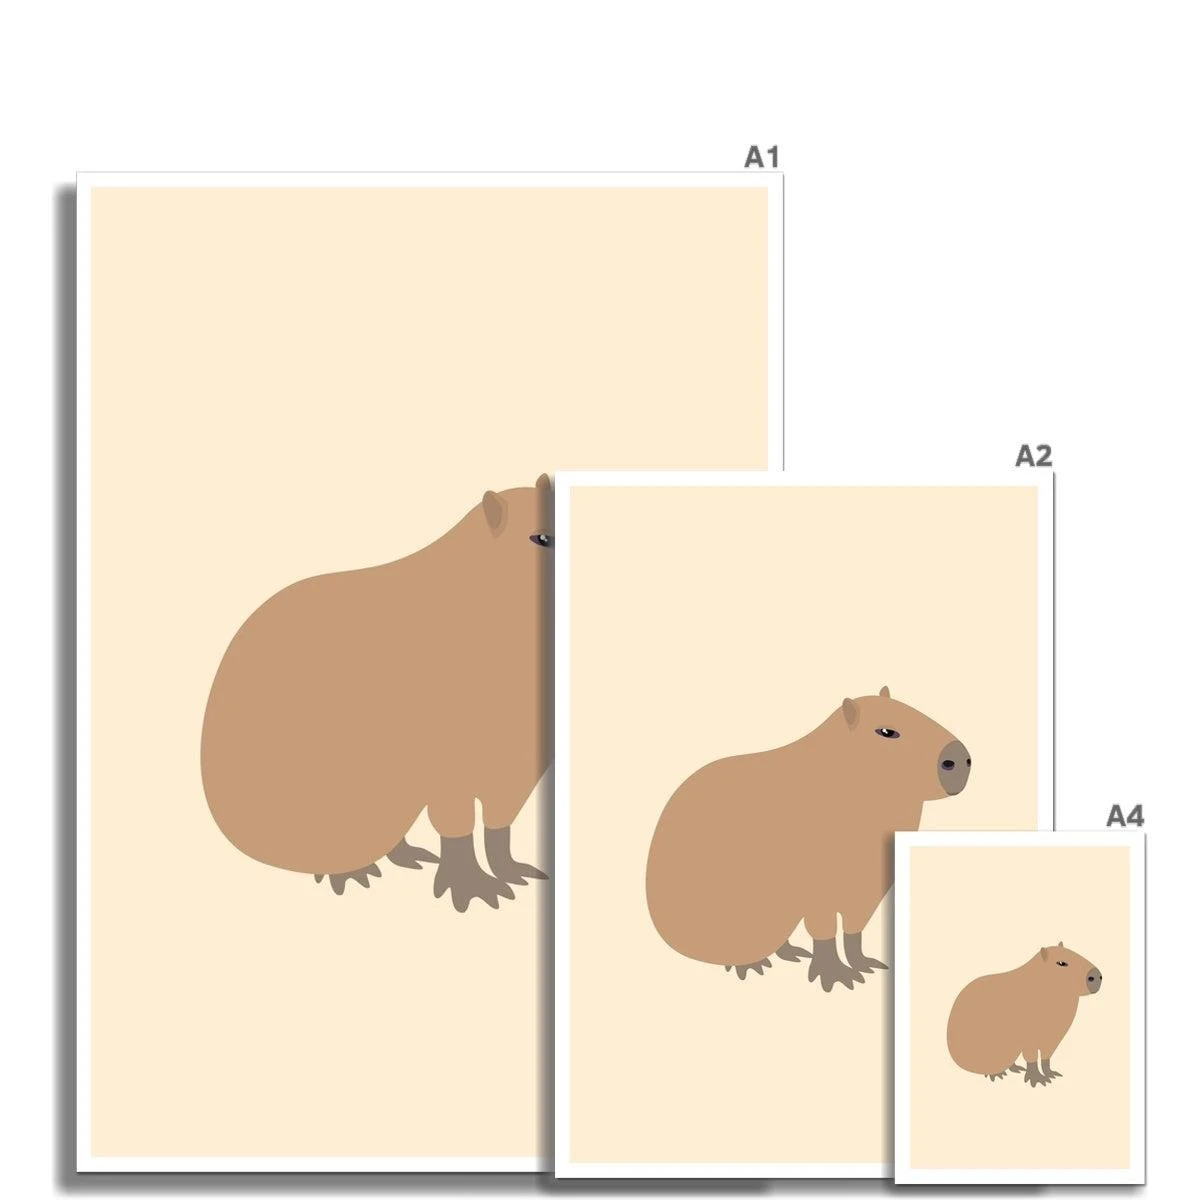
Consider the final size, background, printing method and viewing distance before finishing the artwork.
If you are working digitally, try to keep the original file at a suitable resolution and save an editable version so changes can be made later.
13. Review the Illustration Before Finalising It
Once the drawing looks finished, take a short break and look at it again.
- Check whether the eyes are aligned
- Do the proportions feel balanced, and does the pose look natural?
- Then zoom out to see how the illustration works as a whole, then zoom in to check small details.
- Does the character communicate the feeling you intended?
Flip the artwork horizontally to notice problems that can become difficult to see after looking at the same drawing for a long time.
A technically clean drawing is going to feel lifeless if the expression or pose does not support the character’s personality.
FAQS
How can I make a cute animal character more expressive?
Focus on the eyes, mouth, head angle, and body position. Small changes to these features can communicate emotions such as happiness, curiosity, surprise, or shyness.
What colours work best for cute animal illustrations?
Low-saturation and warm tones create a soft, gentle atmosphere for these illustrations, but you can also use brighter shades depending on the audience and style.
Should cute animal illustrations always have large eyes?
Not at all. Large eyes are one popular way to create a cute appearance, but proportions, expressions, poses and simplified shapes can create the same effect and work as alternatives for the cuteness factor.
Wrapping Up
Professional-looking cute animal illustrations do not need a complicated drawing process, as a few thoughtful details are enough to create an appealing artwork. Their cuteness often comes from simple shapes, controlled proportions, expressive faces and a consistent visual style. Start with real references, build the character from basic forms, and spend time getting the outline and poses right before you add more details. Lastly, keep the colours and shading under control, and always consider where the finished illustration will be used to produce the drawing you have always had in mind.

My writing for ChildrenIllustration.co.uk delves into the area of creative book art for young readers. I’m interested in how pictures contribute to the development of characters, scenes, and emotions in a tale. My writings contain concepts that motivate writers, publishers, and artists alike. This place is dedicated to telling visually compelling stories.